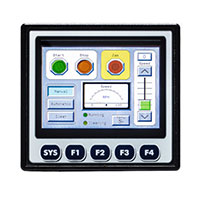
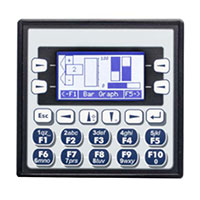
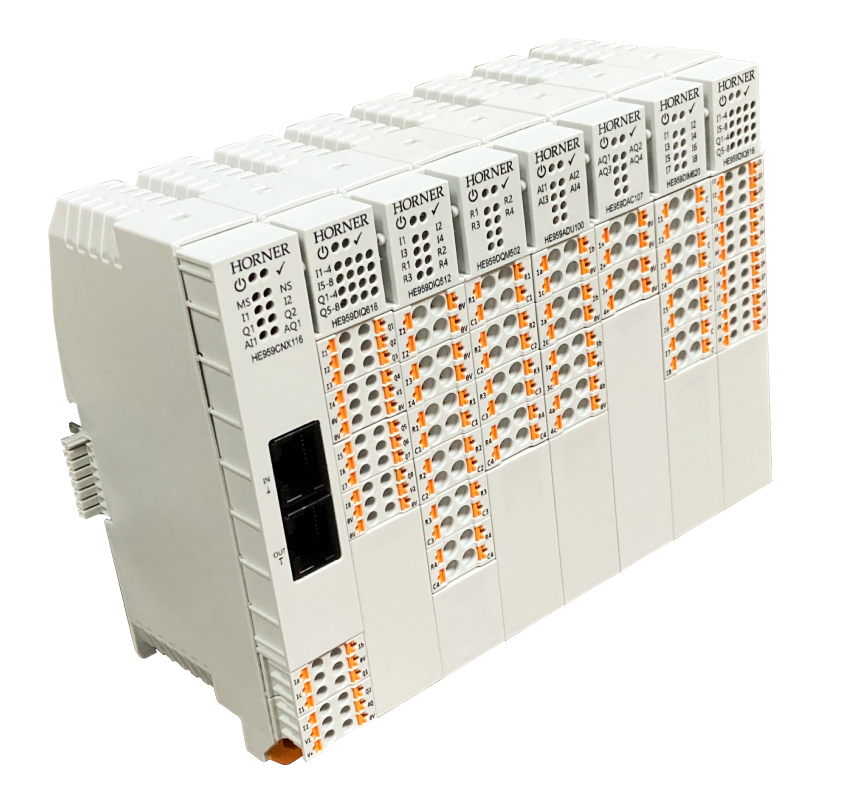
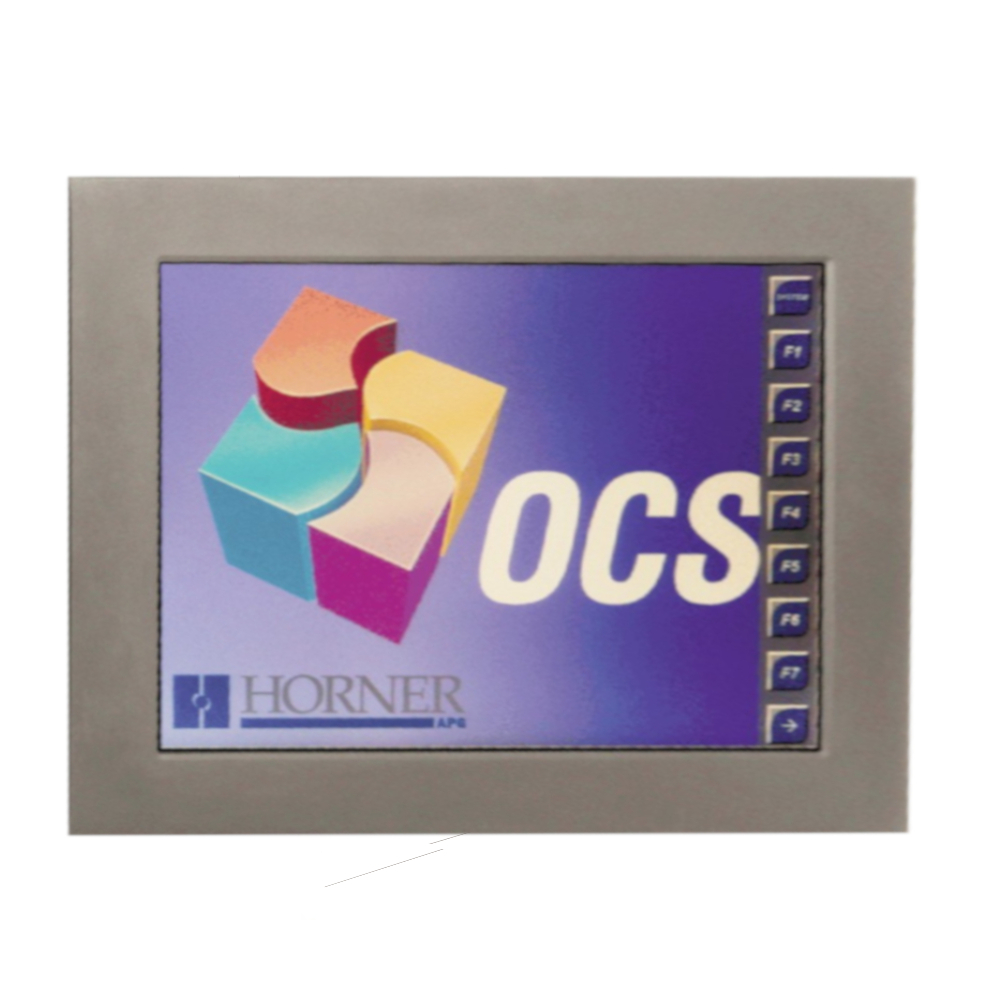
Overview
‘Clone Unit’ feature allows the user to “clone” the OCS of the exact same model. This feature “clones” application program, register data and unit settings stored in Battery backed RAM of an OCS into the RM (refer Removable Media, Chapter 9, for details in using RM). It can then be used to “Clone” further identical OCS of the same model type. This feature can be used for: – Replacing an OCS by another unit of the same model.
– Duplicating or “clone” units without a PC.
Clone
User needs to perform the following to Clone:
- The ‘Clone Unit’ can be accessed by going to the ‘System Menu’ of the OCS. A new menu “Clone Unit” has been added at the end of the main system menu as shown below:
2. Selecting “Clone Unit” menu will open the following screen:
NOTE: In the above Figure, F3 and F4 are inactive in the clone Unit.
Note: DSK – when selected shows number of total and free bytes in Removable Media.
Free/Total – displays number of free and total bytes in Removable Media
3. Make/Create Clone option enables the user to duplicate / Clone an application file, all unit settings and all register values from Battery Backed RAM.
Selecting Make Clone brings up the screen below:
After confirmation, the OCS will create two new files in the root directory of the Removable Media Drive as shown below:
| AUTOLOAD.PGM |
Application file |
| CLONE.DAT |
File having all unit settings and register values from Battery Backed RAM |
Restore OCS Data:
NOTE: Make/Create clone operation automatically includes the security in AUTOLOAD.PGM file for security enabled files.
4. Once the cloning is successful, the OCS gives a message as below:
Make/Create clone can also be triggered by setting %SR164.9 bit to “1” from Ladder program or graphics.
Once the operation is completed, this bit is made zero (0) by the firmware. When Make clone operation is triggered by this SR bit, it does not ask the user for confirmation to make the clone. The success / failure of the operation is also not notified on screen to the user.
In case of failure of “Make Clone” operation, %SR164.11 bit is set to “1” by the firmware and never reset.
NOTE: Backup of registers in flash memory is not performed by the Clone Feature. If user desires, backup should be done as explained in (Fail – Safe System).
Load Clone
This option loads the application, all unit settings and register values from Removable Media to the battery-backed RAM (regardless of AutoLoad settings), and then resets the OCS for the settings to take effect.
User must perform the following to Load the Clone:
1. Select “Clone Unit” from main system menu of OCS as shown below:
2. Selecting “Clone Unit” menu will open the following menu screen. Select “Load Clone”.